

Discover the essential steps and techniques for successfully installing chain link fences. This guide covers preparation, post setting, fabric attachment, and tensioning for a durable and secure fence.
1.1 Overview of Chain Link Fencing Benefits
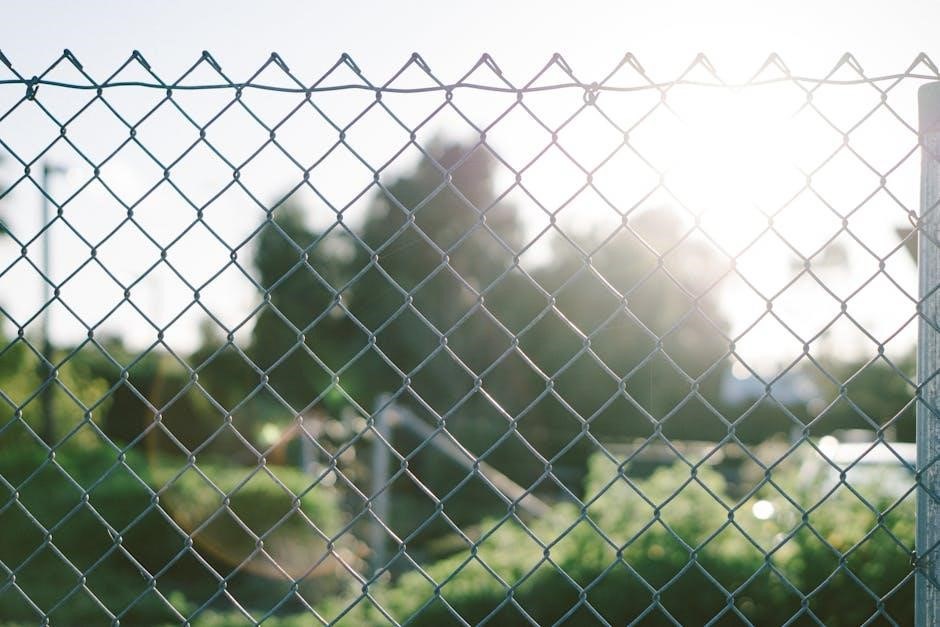
Chain link fencing is a popular choice for its durability and low maintenance. It offers cost-effectiveness, versatility, and security. Ideal for residential and commercial use, it’s easy to install and can be customized with colors or privacy inserts for enhanced aesthetics. A practical solution for defining property lines while ensuring long-lasting performance.
1.2 Importance of Proper Installation Techniques
Proper installation ensures a secure, durable, and visually appealing fence. Incorrect techniques can lead to sagging, unevenness, or structural weakness. Adequate post placement, precise fabric tensioning, and secure hardware connections are crucial for longevity and safety. A well-installed fence enhances property value, provides reliable security, and withstands environmental stresses effectively over time.

Before You Begin
Ensure you have permits, check local zoning, and verify property lines. Measure the area, plan the layout, and gather all necessary materials before starting the installation.
2.1 Obtaining Necessary Permits and Approvals
Before starting your chain link fence installation, secure all required permits and approvals. Check local zoning laws, deed restrictions, and building codes to ensure compliance. Contact your local government or homeowners’ association to confirm height and style regulations. Failure to obtain proper approvals may result in fines or removal of the fence.
2.2 Checking Local Zoning and Deed Restrictions
Verify local zoning laws and deed restrictions before installing your chain link fence. These regulations may dictate maximum height, allowable materials, and placement rules. Ensure your fence complies with neighborhood covenants and municipal codes to avoid legal issues or required modifications. Consulting local authorities or homeowners’ associations can provide clarity and guidance.
Preparing the Fence Layout
Determine property lines, mark the fence area with stakes and string, and measure for accurate material calculations. Proper layout ensures a straight and well-aligned fence installation.
3.1 Determining Property Lines and Fence Placement
Start by identifying property boundaries to avoid encroachment. Mark the fence area 4 inches inside property lines. Use stakes and string to outline the layout, ensuring proper alignment and spacing for posts, gates, and corners. This step is crucial for compliance and a visually appealing fence installation.
3.2 Measuring and Marking the Fence Area
Measure the perimeter of your property to calculate the materials needed. Mark corners and gate locations with stakes, ensuring proper spacing. Use a string line to visualize the fence layout, checking for accuracy and potential obstructions. This step ensures precise placement and alignment before installation begins.
3.3 Setting Up Stakes and String Lines
Drive stakes into the ground at each corner and interval, aligning with your property lines. Attach string lines between stakes to outline the fence perimeter. Ensure the strings are taut and level, providing a clear visual guide for post placement and maintaining consistent spacing throughout the installation process.
Setting Terminal Posts
Setting terminal posts involves installing corner, end, and gate posts securely. Properly digging holes and filling them with concrete ensures a sturdy, strong foundation.
4.1 Locating Corner, End, and Gate Posts
Locate corner, end, and gate posts by identifying your property boundaries. These posts are essential for structural integrity. Gate posts should be spaced according to gate width, plus hinge and latch allowances. Mark each post location accurately to ensure proper alignment and a secure foundation for your chain link fence.
4.2 Digging Holes for Terminal Posts
Dig holes for terminal posts 800mm deep and 300mm in diameter. Use a post hole digger or shovel to create holes slightly wider at the bottom for stability. Ensure holes are level and aligned with the fence layout. Add 4 inches of concrete at the base for a solid foundation before setting posts.
4.3 Securing Posts with Concrete
Fill the hole with 4 inches of concrete at the base. Carefully lower the terminal post into the hole, ensuring it is level using a spirit level. Pour the remaining concrete around the post, filling to ground level. Allow the concrete to set completely before proceeding to ensure a sturdy base for the fence.
Installing Line Posts
Space line posts evenly, typically 10 feet apart, ensuring alignment with terminal posts. Dig holes, insert posts, and secure them with concrete for stability and longevity.
5.1 Spacing and Aligning Line Posts
Space line posts evenly, typically 10 feet apart, aligning them with terminal posts. Use a string line to ensure straight alignment. Adjust spacing slightly for slopes or curves to maintain fence integrity and appearance.

5.2 Digging and Setting Line Post Holes
Dig line post holes 12 inches deep and 18 inches wide using a post hole digger. Place each post in the center, ensuring alignment with the string line. Check for plumb and adjust as needed. Partially fill with soil, tamping down. Do not add concrete yet.
5.4 Securing Line Posts with Concrete
Pour concrete into the hole, ensuring it covers the base and lower third of the line post. Use a level to ensure the post is plumb. Fill to within 2 inches of the top, tamping the concrete to eliminate air pockets. Allow the concrete to cure completely before proceeding to the next step.

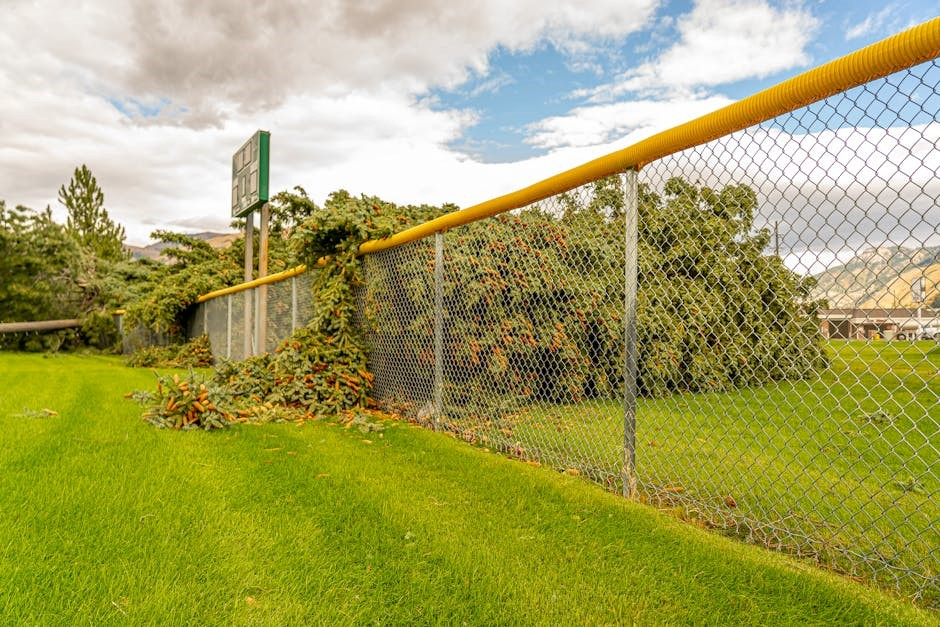
Attaching Chain Link Fabric
Unroll the chain link fabric along the fence line, ensuring it aligns with the posts. Attach the fabric to terminal posts using wire ties, then hang it evenly.
6.1 Unrolling and Cutting the Chain Link Fabric
Begin by unrolling the chain link fabric along the fence line, starting from a terminal post. Measure and cut the fabric to fit the required length using bolt cutters or heavy-duty wire cutters. Ensure the cut is clean and leaves enough slack for proper tensioning and attachment to the posts.
6.2 Hanging the Fabric on the Posts
Start by attaching one end of the chain link fabric to a terminal post using wire ties. Unroll the fabric along the fence line, looping it around each line post. Ensure the fabric is centered and evenly spaced. Secure it tightly to each post with wire ties or clips to maintain a taut appearance.
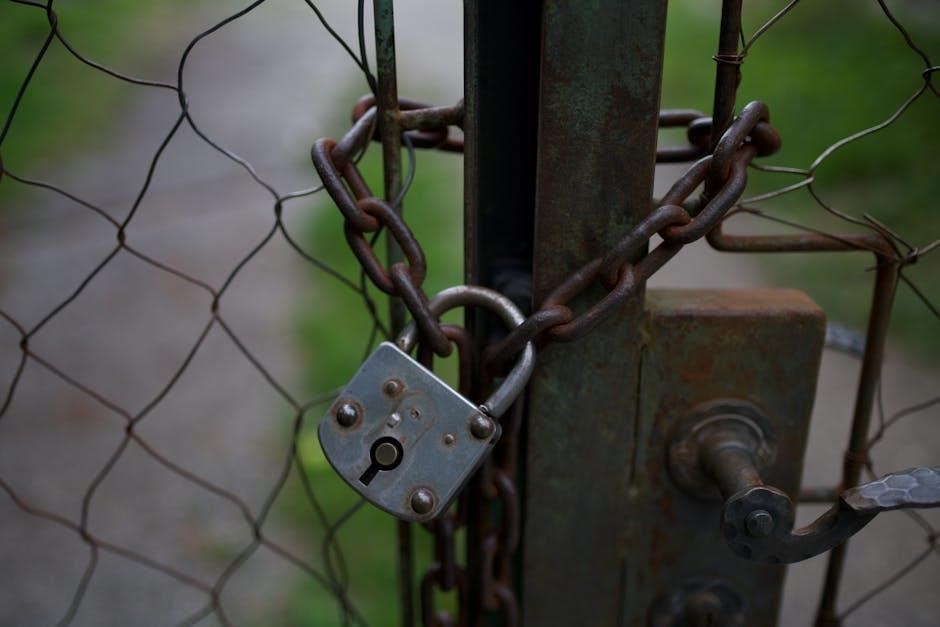
6.3 Securing Fabric with Wire Ties
Use wire ties to tightly secure the chain link fabric to each post. Loop the tie through the fabric and wrap it around the post, then twist to tighten. Ensure the fabric is taut and evenly spaced. For added security, install hog rings every foot to reinforce the connection and prevent sagging.
Tensioning the Fence
Stretch the chain link fabric tightly and attach tension bands to terminal posts. Use wire to secure the fabric, ensuring even tension for a stable and durable fence structure.
7.1 Stretching the Chain Link Fabric Tight
Start by attaching the fabric to a terminal post and use a come-along or winch to stretch it tightly. Ensure the fabric is evenly tensioned and lifted 4-6 inches above the ground to prevent sagging. Avoid over-tightening, as this can damage the fabric or posts.
7.2 Installing Tension Bands and Bars
Attach tension bands to terminal posts, ensuring the flat side faces outward. For corner posts, use two bands pointing in opposite directions. The number of bands depends on fence height: one less than the height in feet. Secure bars to the fabric and bands to maintain tension and structural integrity.
7.3 Tightening the Fabric with Wire
Once tension bands are in place, tighten the fabric by twisting the wire ends with a wrench or pliers. Ensure the wire is securely wrapped around the tension bars and terminal posts for maximum stability. This step ensures the fence remains taut and prevents sagging over time.
Final Adjustments and Inspection
Check the fence for straightness, tighten any loose connections, and ensure fabric is taut. Make repairs where necessary and conduct a final walk-through to confirm everything is secure.
8.1 Checking the Fence for Straightness and Tautness
Ensure the fence is perfectly straight by checking alignment with a string line. Inspect fabric tightness, making adjustments if necessary. Verify all posts are upright and secure, tightening any loose connections. Address any sagging or misalignment promptly to maintain structural integrity and visual appeal.
8.2 Ensuring All Connections Are Secure
Inspect every connection, including bolts, nuts, and wire ties, to ensure they are tightly secured. Check hardware for tightness and alignment. Verify that all fabric attachments and tensioning components are properly fastened. Address any loose or damaged connections to guarantee the fence’s stability and long-term durability.
8.3 Making Necessary Repairs
Identify any damaged sections, such as loose wires or bent posts, and address them promptly. Replace or tighten faulty components, ensuring the fence remains stable. Check for sagging fabric and re-tension if needed. Secure any loose connections or hardware to maintain the fence’s structural integrity and prevent further damage over time.
Maintenance and Repair Tips
Regularly inspect your chain link fence to maintain its condition. Clean and lubricate hardware to ensure smooth operation and prevent rust, extending the fence’s longevity.
9;1 Regular Inspection of the Fence
Perform regular inspections to identify damage or wear on your chain link fence. Check posts, fabric, and hardware for rust or sagging. Addressing issues promptly prevents major repairs and ensures the fence remains secure and visually appealing. Regular checks also help maintain property value and safety.
9.2 Cleaning and Lubricating Hardware
Regularly clean fence hardware to remove dirt and rust. Use a wire brush for rust spots and a mild detergent solution for general cleaning. Rinse thoroughly and dry. Lubricate hinges, latches, and tension bands with silicone spray to prevent squeaking and rust, ensuring smooth operation and longevity of the fence components.
9.3 Repairing Damaged Sections
Inspect damaged areas and replace broken chain link fabric or hardware. Cut out damaged sections with bolt cutters and attach new fabric using wire ties or hog rings. Ensure tight connections to maintain fence stability. For severe damage, consult a professional to avoid further deterioration and ensure structural integrity.
Thank you for following this comprehensive guide. With proper planning and execution, you can successfully install a durable chain link fence. Happy DIY-ing!
10.1 Summary of Key Installation Steps
Successfully install a chain link fence by following these steps: prepare the layout, set terminal and line posts, attach fabric, tension the fence, and perform final inspections. Proper planning and execution ensure a durable and secure fence. Follow safety guidelines and consult local regulations for a professional-grade installation. Happy DIY-ing!
10.2 Encouragement for DIY Success
Embrace the challenge of installing your chain link fence with confidence. With careful preparation and adherence to proven techniques, you’ll achieve professional results. Take pride in your DIY project, knowing it enhances your property’s security and appearance. Stay patient, follow each step, and enjoy the satisfaction of a job well done.