

Yardworks Electronic Water Timer Manual: A Comprehensive Guide
This guide comprehensively covers Yardworks electronic water timers, addressing setup, programming, troubleshooting, and resources. Despite limited official support,
we’ll navigate manuals and warranty information for optimal garden hydration.

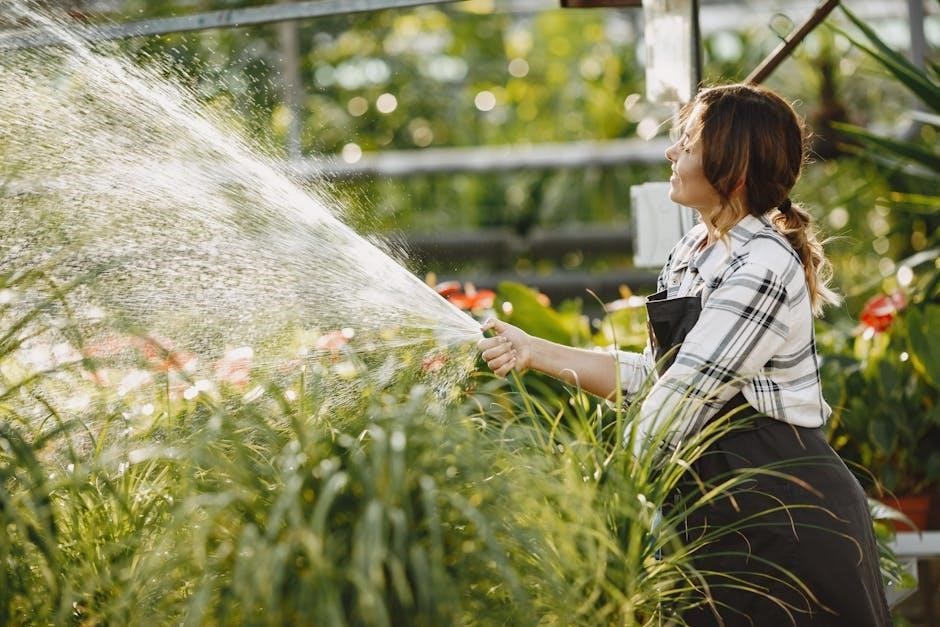
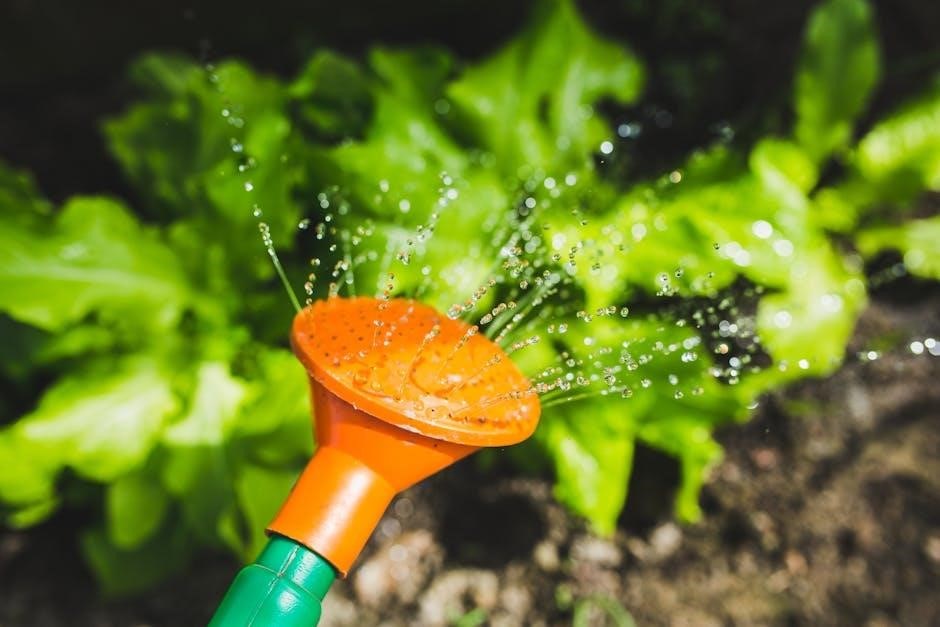
Yardworks offers a range of electronic water timers designed to simplify lawn and garden irrigation. These timers automate watering schedules, promoting water conservation and healthy plant growth. Popular models include the 2-Outlet Digital Timer, the 2-Zone Dry Seal Programmable Timer, and the more advanced 4-Zone Dry Seal Digital Timer, as well as a 1-Zone option.
These devices allow users to pre-set watering times and durations, eliminating the need for manual operation. Key features often include digital displays, independent valve control, and hydrologic programming for customized schedules based on individual days of the week. However, it’s important to note that Yardworks currently lacks a dedicated website and readily available official manuals or a streamlined warranty claim process, presenting challenges for users seeking direct support. This guide aims to consolidate available information and provide practical assistance.
Understanding the Different Yardworks Timer Models
Yardworks water timers cater to varying irrigation needs. The 2-Outlet Water Timer with Digital Display offers a programmed digital outlet and a manual outlet for simple watering. The 2-Zone Dry Seal Programmable Digital Water Timer allows independent control of two watering zones, with up to four start times per zone and the ability to water up to 24 times daily.
For larger gardens, the 4-Zone Dry Seal Digital Water Timer provides hydrologic programming for individual days, maximizing efficiency. A simpler 1-Zone Digital Water Timer is also available, offering similar features for single-zone applications. All Dry Seal models feature high-flow valves for consistent water pressure and a manual rain delay function. Understanding these distinctions is crucial for selecting the timer best suited to your specific landscaping requirements and ensuring optimal performance.
Yardworks 2-Outlet Water Timer with Digital Display: Overview
The Yardworks 2-Outlet Water Timer is designed for convenient and automated garden irrigation. This model uniquely features both a digitally programmable outlet and a manual outlet, offering flexibility for different watering needs. The digital outlet allows precise scheduling of watering duration and frequency, while the manual outlet provides instant water access without programming.
This timer is ideal for users who want automated control for some areas of their garden and immediate access for others. The digital display facilitates easy programming and monitoring of watering schedules. It’s a straightforward solution for maintaining a healthy lawn and garden, balancing automation with on-demand watering capabilities. Refer to the quick guide (available as a 138KB PDF) for detailed setup instructions.
Yardworks Dry Seal Programmable Digital Water Timer (2-Zone): Features
The Yardworks Dry Seal 2-Zone Digital Water Timer offers independent control over two separate watering zones, maximizing efficiency and catering to diverse plant needs. Each valve operates independently, supporting up to four distinct start times per zone. This allows for customized watering schedules tailored to specific areas of your garden – for example, different durations for flowerbeds versus lawns.
This timer automatically waters up to 24 times a day, providing exceptional flexibility. The “Dry Seal” design helps protect internal components from the elements, ensuring durability. It’s a programmable solution for efficient water management, reducing waste and promoting healthy plant growth. Users benefit from precise control and automated operation, simplifying garden maintenance.
Yardworks Dry Seal 4-Zone Digital Water Timer: Detailed Specifications
The Yardworks Dry Seal 4-Zone Digital Water Timer elevates garden irrigation with its advanced capabilities. A key feature is its hydrologic programming, enabling customized watering schedules for each of the four independent zones, tailored to individual days of the week. This granular control optimizes water usage based on specific plant requirements and weather patterns.
High-flow valves are incorporated to maintain consistent water pressure and flow throughout the system, preventing disruptions during operation. A manual rain delay function provides a convenient way to pause the programmed schedule, conserving water during periods of rainfall. While specific technical specifications like pressure range and flow rate aren’t readily available, the timer is designed for reliable performance and efficient water distribution across larger gardens.
Yardworks Dry Seal 1-Zone Digital Water Timer: Basic Operation
The Yardworks Dry Seal 1-Zone Digital Water Timer simplifies automated watering for single garden areas. Like its 4-zone counterpart, it features hydrologic programming, allowing customized schedules for each day of the week, catering to varying plant needs. A high-flow valve ensures consistent water delivery, preventing pressure drops during operation.
Basic operation involves setting the current time, defining start times for watering, and specifying the duration for each watering cycle. The integrated manual rain delay function offers a quick way to temporarily suspend the schedule during inclement weather, promoting water conservation. While designed for ease of use, accessing detailed instructions can be challenging due to limited official documentation. Proper battery installation is crucial for accurate timekeeping and reliable performance.

Setting Up Your Yardworks Water Timer
Proper setup involves initial battery installation, securely connecting the timer to your water source, and then programming the desired watering schedules for efficient garden hydration.
Initial Setup and Battery Installation
Before first use, carefully unpack your Yardworks water timer and inspect it for any visible damage. The initial setup centers around correctly installing the batteries to power the digital display and programming functions. Typically, these timers require AA or AAA batteries – consult your specific model’s documentation (if available, as official support is limited) for the correct type and quantity.

Open the battery compartment, usually located with a secure latch to protect against moisture. Insert the batteries according to the polarity markings (+ and -) inside the compartment. Ensure a snug fit for reliable contact. Once the batteries are in place, the digital display should illuminate, indicating successful installation. If the display doesn’t activate, double-check the battery polarity and replace them if necessary. A fresh set of batteries is recommended for optimal performance and accurate timekeeping.
Connecting the Timer to Your Water Source
Proper connection to your outdoor faucet is crucial for leak-free operation. Begin by ensuring the faucet is turned off. Hand-tighten the Yardworks timer onto the faucet outlet, ensuring a secure, yet not overly forceful, connection. Over-tightening can damage the threads on either the timer or the faucet.
Next, connect your garden hose to the timer’s outlet. Again, hand-tighten securely. It’s recommended to use a hose washer inside the connection to create a watertight seal. Before fully opening the faucet, slowly turn it on to check for any leaks at either connection point. If leaks are present, tighten the connections slightly or check the hose washer. The “Dry Seal” models are designed to minimize leaks, but proper installation remains vital. Ensure the timer is positioned to avoid direct sunlight and extreme weather conditions for longevity;

Programming the Digital Outlet (2-Outlet Model)
The 2-Outlet Yardworks timer features a digital outlet for programmed watering and a manual outlet for on-demand use. To program, press the “Program” button. Use the “Hour” and “Minute” buttons to set the desired start time. Then, use the “Duration” button to select how long the water will run, typically in minutes.
You can set multiple start times per day, up to 24, allowing for customized watering schedules. The “Days” button lets you choose which days of the week the program will run. The digital display clearly shows the current time, start time, duration, and selected days. Remember to save your settings after each adjustment. The independent valves allow for different watering schedules on each zone, maximizing water efficiency and catering to varying plant needs.
Setting Start Times and Duration
Establishing precise watering schedules is crucial with your Yardworks timer. Begin by pressing the “Set Time” button and utilizing the “Hour” and “Minute” buttons to define your desired watering start time. Next, adjust the “Run Time” or “Duration” using the corresponding buttons, specifying the watering length in minutes – consider plant type and weather conditions.
For multiple watering cycles daily, repeat these steps to program additional start times. The timer’s capacity allows up to 24 watering cycles per day on some models. Ensure you save each programmed setting. Regularly review and adjust these settings based on seasonal changes and rainfall. Accurate start times and durations are key to efficient water usage and a healthy garden, preventing both under and overwatering.
Hydrologic Programming for Individual Days of the Week
Yardworks’ advanced timers offer hydrologic programming, allowing customized watering schedules for each day; This feature recognizes that watering needs vary based on weather and plant requirements. Access the day selection mode – often labeled “Day” or “Program” – and individually set start times and durations for each day of the week.
For example, you might program longer watering cycles for hotter days or skip watering altogether on rainy days using the manual rain delay. This granular control optimizes water usage and promotes healthy plant growth. Some models allow copying a schedule to multiple days, simplifying setup. Remember to save changes for each day. Utilizing this feature ensures your garden receives precisely the water it needs, when it needs it.
Advanced Features and Troubleshooting
Explore manual rain delay options, understand high-flow valve functionality, and resolve common issues like no water flow or incorrect time displays. Resetting to factory settings is also covered.
Using the Manual Rain Delay Function
The Yardworks timers offer a convenient manual rain delay function, allowing you to temporarily pause your programmed watering schedule when natural rainfall occurs. This feature is crucial for water conservation and prevents overwatering your lawn and garden. Instead of navigating complex reprogramming, simply activate the rain delay.
Typically, activating this function involves pressing and holding a dedicated “Rain Delay” button on the timer’s control panel. The duration of the delay varies by model, but it generally allows you to postpone watering for a set period, often 24 hours or more. Refer to your specific timer’s instructions (if available – finding official documentation can be challenging, as noted) for precise steps.
Remember to deactivate the rain delay once the weather clears to resume your regular watering schedule. Utilizing this feature effectively contributes to responsible water usage and a healthier landscape.
Understanding High-Flow Valves and Water Pressure
Yardworks timers, particularly the 4-Zone and 2-Zone Dry Seal models, incorporate high-flow valves designed to maintain consistent water pressure and deliver optimal hydration to your garden. These valves are engineered to minimize pressure loss, ensuring that all zones receive adequate water, even during peak usage times.
However, understanding your home’s water pressure is vital. Extremely high water pressure can potentially damage the timer or connected irrigation components. Conversely, low water pressure may result in reduced flow rates and uneven watering.

If you experience issues with water flow, check your home’s water pressure. Most systems operate between 40 and 60 PSI. If your pressure falls outside this range, consider installing a pressure regulator. The high-flow valves work best with adequate, but not excessive, water supply. Proper valve function is key to efficient watering.
Troubleshooting Common Issues: No Water Flow
Experiencing no water flow from your Yardworks timer is a common issue with several potential causes. First, verify the water supply is turned on fully to both the timer and the connected faucet. Check for any kinks or obstructions in the hose connecting the timer to the water source.
Next, inspect the timer’s filter screen for debris. A clogged filter can significantly restrict water flow. Clean the filter thoroughly. Ensure the timer is programmed correctly with a valid start time and duration. Confirm the manual rain delay function isn’t activated, as this will halt watering.
If the problem persists, examine the valves themselves. A faulty valve may prevent water from reaching specific zones. Finally, consider your home’s water pressure; insufficient pressure can lead to no flow. If issues continue, resetting the timer to factory settings might resolve the problem.
Troubleshooting Common Issues: Incorrect Time Display
An inaccurate time display on your Yardworks timer can disrupt your watering schedule. The most frequent cause is a depleted battery. Replace the batteries with fresh ones, ensuring correct polarity. After battery replacement, you’ll likely need to reprogram the current time and date.
If the issue persists after a battery change, attempt a reset of the timer to its factory settings. This will clear any corrupted time data. Refer to the manual (if accessible – noting Yardworks’ limited official support) for specific reset instructions.
Some models may have a “Hold” or “Set” button that, when pressed for an extended period, initiates a reset. Be aware that resetting will erase all programmed schedules, requiring you to re-enter them. Double-check the time zone setting within the timer’s menu to ensure it’s correctly configured for your location.
Resetting Your Yardworks Water Timer to Factory Settings
Resetting your Yardworks timer returns it to its original, out-of-the-box state, erasing all programmed schedules and settings. This is useful for resolving persistent errors or preparing the timer for a new installation. However, be prepared to re-enter all your watering preferences afterward.
Unfortunately, specific reset procedures vary between Yardworks models, and official documentation is often scarce. Generally, look for a small “Reset” button, often recessed to prevent accidental presses. You may need a paperclip or similar tool to access it. Holding this button for 5-10 seconds typically initiates the reset.

Alternatively, some models require a combination of button presses (like “Set” and “Start” simultaneously) to trigger a factory reset. Since detailed instructions are hard to find due to limited support, experimentation may be necessary. Remember, resetting will require complete reprogramming of your watering schedule.

Important Information & Resources
Navigating Yardworks support is challenging due to limited official resources; explore online manuals, conservation tips, and safety precautions for effective timer operation.
Finding Manuals and Documentation (Despite Limited Official Support)
Locating official Yardworks documentation presents a significant hurdle, as the company lacks a dedicated website and readily available manuals. However, resourceful users can find PDFs and guides through third-party sites like ManualsLib and Manualzz. Searching specifically for model numbers – such as 060-2288-0 – often yields results.
Warranty Information and Claim Procedures (Challenges)
Securing warranty service for Yardworks electronic water timers proves exceptionally difficult; A major challenge is the absence of a formal website or established warranty claim procedure. Information regarding warranty coverage is scarce and often unavailable directly from the manufacturer. This lack of transparency creates frustration for consumers experiencing product defects.
Online resources consistently highlight this issue, noting Yardworks’ limited support infrastructure. While a warranty may exist, initiating a claim requires significant effort and often yields unsatisfactory results. Retaining proof of purchase is crucial, but even with documentation, navigating the process is unclear. Users should explore retailer return policies as a primary recourse, as direct manufacturer support is largely absent. Expect limited assistance and potential difficulties resolving warranty-related concerns.
Water Conservation Tips When Using a Timer
Maximize water efficiency with your Yardworks timer by implementing smart scheduling practices. Utilize hydrologic programming – adjusting watering durations based on individual days’ needs – to avoid overwatering during rainy periods. Leverage the manual rain delay function proactively when precipitation is forecast, pausing scheduled cycles and conserving valuable resources.
Consider watering deeply but less frequently to encourage robust root growth, reducing water dependence. Schedule watering during cooler parts of the day (early morning) to minimize evaporation loss. Regularly inspect your sprinkler system for leaks and ensure proper nozzle function. Group plants with similar watering requirements together. By combining timer functionality with these conservation techniques, you’ll promote a healthy landscape while minimizing water waste and lowering your utility bills.
Safety Precautions for Water Timer Operation
Prioritize safety when installing and operating your Yardworks water timer. Always disconnect the water supply before attempting any maintenance or adjustments to the timer or connected hoses. Be mindful of potential water pressure fluctuations, especially with high-flow valves, to prevent hose bursts or damage to the timer unit.
Ensure the timer is protected from extreme weather conditions – prolonged exposure to direct sunlight or freezing temperatures can compromise its functionality. Avoid submerging the timer in water, even though it’s designed for outdoor use. Regularly inspect the timer and connections for any signs of wear or damage. If you notice any issues, discontinue use and address them promptly. Keep the timer out of reach of children and pets to prevent accidental tampering or ingestion of small parts.
Alternative Water Timer Brands and Resources
Given the challenges with Yardworks’ limited official support – lacking a dedicated website, manuals, or clear warranty procedures – exploring alternative brands is prudent. Popular options include Rain Bird, Orbit, and Melnor, all offering robust water timers with readily available documentation and customer support.
Websites like waterheatertimer.org (specifically the 2013 archive) provide a historical resource for various timer brands and manuals. Retailers like Home Depot and Lowe’s offer extensive selections of water timers, often with detailed product information and customer reviews. Consider features like smart home integration (Wi-Fi enabled timers) for remote control and monitoring. When choosing an alternative, prioritize ease of programming, durability, and the availability of replacement parts. Don’t hesitate to consult online forums and gardening communities for recommendations.