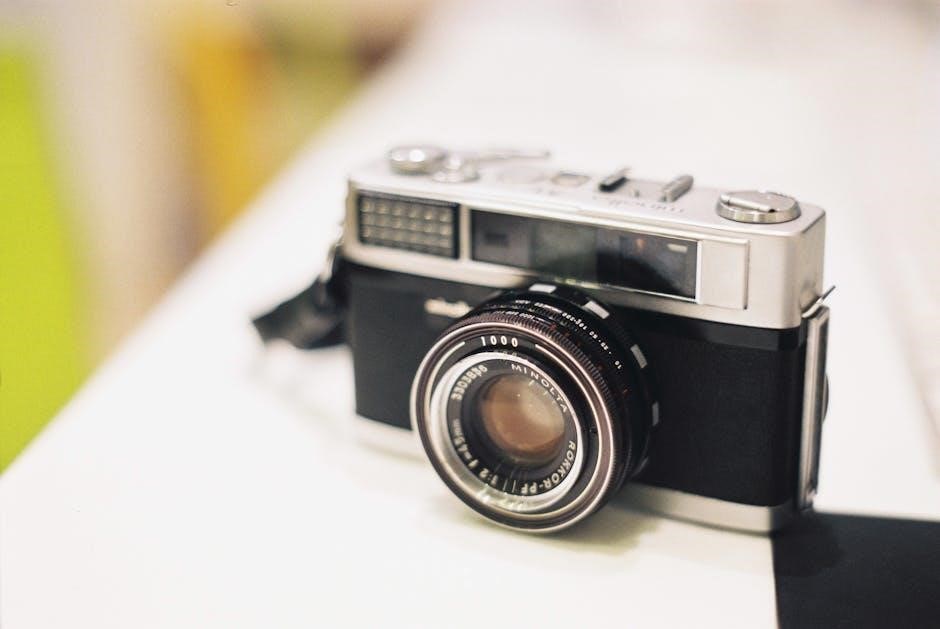
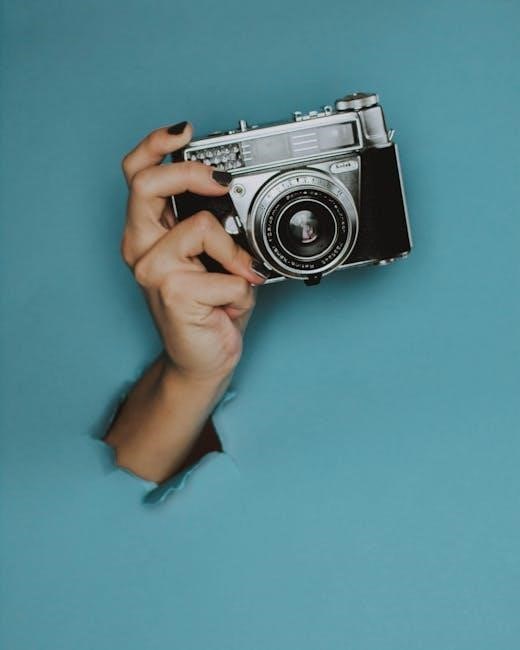
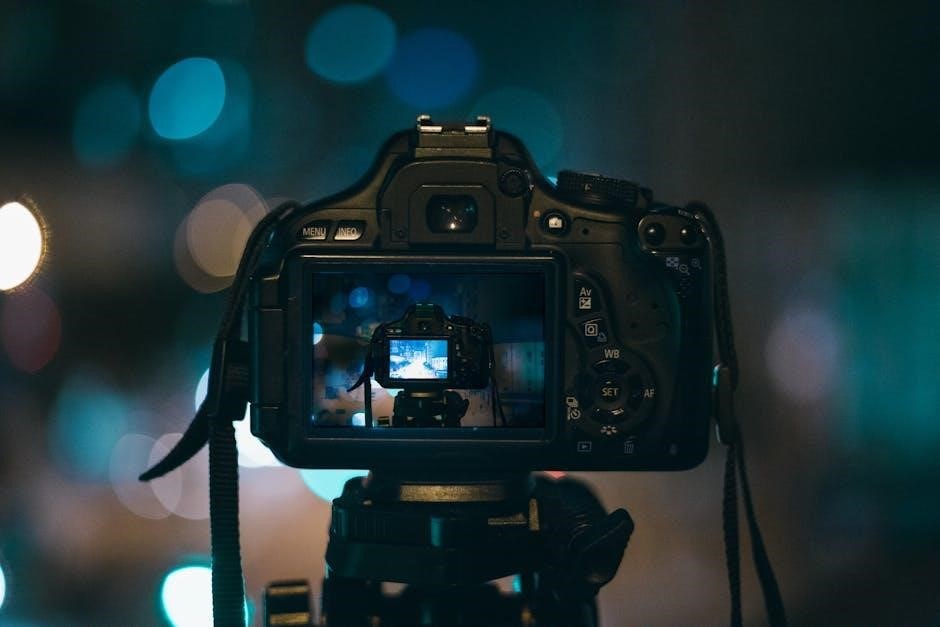
Discover the power of manual camera mode to enhance your photography skills. Learn to master aperture‚ shutter speed‚ and ISO for precise control over exposures.
Why Shoot in Manual Mode?
Shooting in manual mode grants creative control‚ enabling precise adjustments to aperture‚ shutter speed‚ and ISO. It allows photographers to achieve their vision by tailoring exposures to specific lighting conditions and artistic goals‚ ensuring optimal results in every shot.
Understanding the Exposure Triangle
The exposure triangle is the foundation of manual photography‚ consisting of aperture‚ shutter speed‚ and ISO. These elements work together to control light intake and image brightness. Aperture regulates depth of field‚ shutter speed captures motion‚ and ISO adjusts sensitivity. Balancing these ensures optimal exposure and creative control over your photos.
Mastering Aperture
Aperture controls depth of field and light entry. A lower f-stop value (like f/2.8) creates a shallow focus‚ while a higher value (like f/16) sharpens the entire image.
What is Aperture?
Aperture is a camera setting that regulates the amount of light entering the lens by adjusting the diameter of the aperture blade. It is measured in f-stops‚ with smaller f-stop values (e.g.‚ f/2.8) indicating a larger aperture opening‚ allowing more light in‚ while larger values (e.g.‚ f/16) result in a smaller opening‚ letting less light pass through.
How to Use Aperture Effectively
To use aperture effectively‚ start by understanding its impact on depth of field. A wide aperture (low f-stop) creates a shallow focus‚ ideal for portraits‚ while a narrow aperture (high f-stop) keeps more of the image sharp‚ perfect for landscapes. Adjust aperture based on your creative goals and lighting conditions for optimal results.
Common Aperture Ranges and Their Effects
Aperture ranges significantly impact depth of field and light entry. Wide apertures (f/1.4–f/2.8) create shallow focus‚ ideal for portraits. Medium apertures (f/4–f/5.6) balance subject and background sharpness‚ great for everyday shots. Narrow apertures (f/8–f/16) ensure maximum sharpness across the image‚ perfect for landscapes. Understanding these ranges helps you achieve the desired aesthetic in your photos with precision and control.

Shutter Speed Essentials
Shutter speed controls motion and light exposure. Faster speeds freeze action‚ while slower speeds create blur‚ adding artistic effects to your images.
What is Shutter Speed?
Shutter speed is the duration the camera’s shutter remains open‚ measured in seconds or fractions of a second. It regulates the amount of light entering the lens and captures motion. Faster speeds freeze action‚ while slower speeds create blur‚ allowing for artistic effects and creative control over your images.
How to Choose the Right Shutter Speed
Selecting the ideal shutter speed balances image brightness and desired motion effects. For sharp images‚ use speeds of 1/125s or faster. Slow speeds (1/30s or slower) create blur‚ ideal for artistic effects. Match your subject’s movement—faster speeds for action‚ slower for flowing water or light trails‚ ensuring the right aesthetic for your scene.
Freezing Motion vs. Creating Blur
Freezing motion requires fast shutter speeds (1/500th of a second or faster) to capture sharp‚ clear images of moving subjects. Creating blur involves slower speeds (1/30th or slower)‚ ideal for artistic effects like flowing water or light trails‚ adding dynamism to your photos while maintaining focus on stationary elements for balanced composition.
ISO Explained
ISO adjusts the camera’s light sensitivity‚ with lower values (ISO 100) for bright conditions and higher values (ISO 6400) for low light‚ affecting image noise levels.
What is ISO?
ISO is a setting that adjusts your camera’s sensitivity to light. Lower ISO values (like ISO 100) are ideal for bright lighting‚ while higher values (like ISO 6400) are used in low-light conditions. It’s a crucial part of the exposure triangle‚ alongside aperture and shutter speed‚ allowing you to control image brightness and minimize noise effectively.
Best Practices for Using ISO
Always start with the lowest ISO possible for your lighting conditions to minimize noise. Use higher ISOs sparingly in low light‚ but avoid extreme values to prevent grain. Pair ISO adjustments with aperture and shutter speed tweaks for optimal results‚ ensuring sharp‚ clear images in any setting without compromising quality.
Understanding ISO Noise and Grain
ISO noise and grain occur when high sensitivity settings capture unwanted digital artifacts. Lower ISOs produce cleaner images‚ while higher values introduce visible grain‚ especially in shadows. Modern cameras minimize noise‚ but it’s noticeable in low-light shots. Balancing ISO with aperture and shutter speed helps reduce grain‚ ensuring sharp‚ detailed photos with minimal distortion or pixelation.
Using the Exposure Triangle Together
The exposure triangle combines aperture‚ shutter speed‚ and ISO to control light. Aperture regulates light entry‚ shutter speed freezes or blurs motion‚ and ISO adjusts sensitivity. Balancing these elements ensures proper exposure for crisp‚ well-lit photos.
How to Balance Aperture‚ Shutter Speed‚ and ISO
Balancing the exposure triangle starts with setting aperture for depth of field‚ then selecting shutter speed to freeze or blur motion‚ and adjusting ISO for optimal light sensitivity. Use lower ISOs for bright conditions and higher for low light. Adjust settings incrementally‚ checking the light meter to achieve perfect exposure without overexposing or underexposing your images.
Adjusting Settings for Different Lighting Conditions
Adapt your manual mode settings to lighting by starting with a base exposure. In bright light‚ use a smaller aperture‚ faster shutter‚ and lower ISO. For low light‚ widen the aperture‚ slow the shutter‚ and increase ISO. Cloudy days may require a medium aperture and adjusted ISO. Use your light meter to guide adjustments and bracket shots for optimal results.
Tips for Achieving Perfect Exposure
Master exposure by balancing the aperture‚ shutter speed‚ and ISO. Bracket shots to capture a range of exposures. Use your camera’s light meter as a guide. Shoot in RAW for flexibility. Fine-tune settings based on lighting conditions. Pay attention to highlights and shadows to avoid overexposure. Practice regularly to refine your skills and achieve consistent results in manual mode.
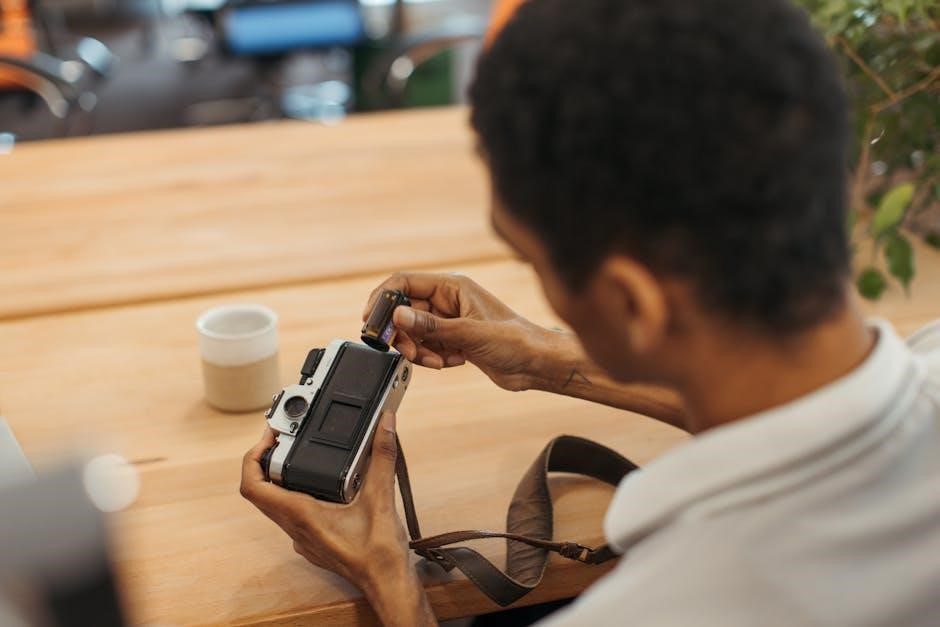
Additional Camera Settings to Consider
Explore white balance for accurate colors‚ metering modes for precise light measurement‚ and focus settings for sharpness. Choose between RAW or JPEG formats for image quality and flexibility.
White Balance and Color Temperature
White balance ensures accurate colors in your photos by adjusting to lighting conditions. Use presets like Daylight‚ Shade‚ or Tungsten‚ or set a custom Kelvin temperature. Lower Kelvin values (e.g.‚ 2500K) create warmer tones‚ while higher values (e.g.‚ 7500K) produce cooler colors. Proper white balance enhances realism and artistic expression in your images.
Metering Modes and Focus Settings
Metering modes like Evaluative‚ Center-Weighted‚ and Spot help measure light accurately. Focus settings such as Autofocus (Single Shot or Continuous) or Manual Focus ensure sharpness. Use Autofocus for dynamic subjects and Manual Focus for precise control. These tools enable better exposure and subject capture in various lighting conditions‚ enhancing your manual mode photography experience effectively.
RAW vs. JPEG: Which Format to Use
Shoot in RAW for maximum image quality and editing flexibility‚ as it retains all data. Use JPEG for convenience and smaller file sizes‚ ideal for sharing. RAW is best for professional edits‚ while JPEG suits everyday photography. Choose based on your workflow and storage needs to balance quality and practicality effectively.
Troubleshooting Common Issues
Address common problems like overexposure‚ blur‚ or noise by adjusting settings. Use histograms to check exposure and experiment with ISO and shutter speed for better results.
Fixing Overexposed or Underexposed Photos
Identify overexposure or underexposure using histograms. Adjust ISO‚ shutter speed‚ or aperture to balance lighting. For overexposure‚ lower ISO or increase shutter speed. For underexposure‚ raise ISO or slow shutter speed. Use bracketing for extreme lighting conditions and neutral density filters to control bright scenes effectively. Experiment until the image looks natural and well-exposed.
Resolving Blur Caused by Camera Shake
Combat camera shake by using faster shutter speeds or a tripod. Enable image stabilization if available. Hold the camera firmly‚ press the shutter gently‚ and exhale slowly. In low light‚ increase ISO slightly rather than risking slow speeds. These techniques help sharpness and reduce motion blur in your photos effectively.
Minimizing Digital Noise in Low Light
To minimize digital noise in low-light conditions when using manual camera mode‚ follow these strategies:
Optimize ISO Settings: Keep the ISO as low as possible to reduce noise‚ while ensuring the image isn’t underexposed. If higher ISOs are necessary‚ use the lowest possible value that still allows for a properly exposed image.
Adjust Aperture and Shutter Speed:
ー Open up the aperture (use a smaller f-stop number) to let more light in‚ being mindful of the depth of field.
⏤ Use slower shutter speeds to increase exposure‚ but stabilize the camera with a tripod or monopod to prevent motion blur.
Use Camera Stabilization: Employ a tripod or monopod to keep the camera steady‚ allowing for slower shutter speeds without introducing blur.
Enable Noise Reduction Features: Utilize built-in noise reduction settings on your camera to help minimize grain‚ though be cautious of over-smoothing the image.
Shoot in RAW Format: Capturing images in RAW allows for greater flexibility in post-processing‚ enabling more effective noise reduction without degrading image quality.
Post-Processing Techniques: Use photo editing software to apply noise reduction and enhance image clarity after taking the photo.
Consider Camera Quality: Higher-end cameras‚ especially those with full-frame sensors‚ often handle noise better in low-light conditions.
Environmental Adjustments: Use external lighting or position subjects near natural light sources to reduce the need for high ISOs.
By combining these approaches‚ you can effectively reduce digital noise and capture clearer‚ high-quality images in low-light settings.
Photography Cheat Sheet for Common Genres
A quick reference guide for mastering popular photography styles‚ covering portrait‚ landscape‚ and action settings to help you capture stunning images in any situation with ease.
Portrait Photography Settings
- Aperture: f/1.8–f/5.6 for a shallow depth of field to blur backgrounds and highlight your subject.
- Shutter Speed: 1/100s–1/800s to ensure sharp images and freeze motion.
- ISO: 100–400 for minimal noise in natural or studio lighting.
- Focus: Use single-shot AF for precise subject focus.
- White Balance: Adjust for accurate skin tones and lighting conditions.
Landscape Photography Settings
- Aperture: f/8–f/16 for a wide depth of field to keep the entire scene sharp.
- Shutter Speed: 1/30s–30s to capture motion in water or clouds while maintaining sharpness.
- ISO: 100–400 for minimal noise in natural lighting.
- Focus: Use manual focus or landscape mode for sharpness across the frame.
- Filters: Consider a polarizing filter to enhance colors and reduce glare.
Action and Sports Photography Settings
- Aperture: Use f/2.8–f/4 for a shallow depth of field to isolate subjects.
- Shutter Speed: Set 1/1000th of a second or faster to freeze motion sharply.
- ISO: Keep it low (ISO 100–800) for minimal noise‚ but adjust if lighting is poor.
- Focus: Enable continuous autofocus for tracking moving subjects.
- Burst Mode: Use rapid shooting to capture dynamic moments.
- Lens: Opt for a telephoto lens (70–200mm) for compression and clarity.
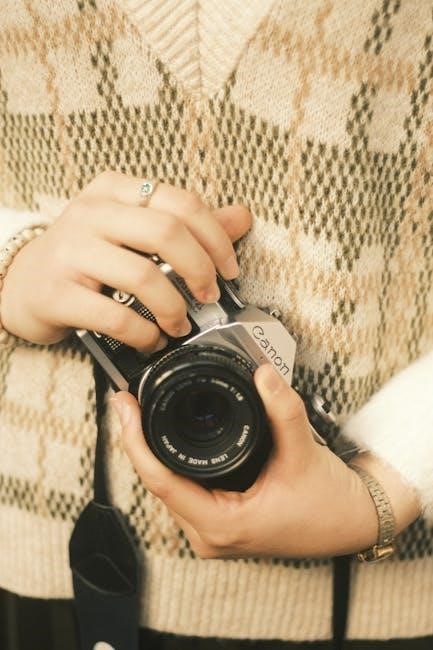
Final Tips for Mastering Manual Mode
Consistently practice‚ review your work‚ and experiment with techniques. Mastering manual mode takes time‚ but patience and dedication will refine your photography skills significantly.
Practice Exercises to Improve Your Skills
Start by practicing aperture priority‚ then transition to full manual mode. Shoot stationary objects to focus on settings before moving to dynamic subjects. Regularly review your photos to identify areas for improvement‚ ensuring each session builds on previous lessons. Use a photography cheat sheet as a quick reference guide during practice sessions to refine your technique effectively.
Using a Photography Cheat Sheet in the Field
A photography cheat sheet is an invaluable tool for quick reference while shooting. It provides a concise guide to settings‚ ensuring you never miss a shot. Keep it laminated and easily accessible to adjust aperture‚ shutter speed‚ and ISO effortlessly. Use it to avoid trial and error‚ capturing perfect exposures every time‚ regardless of lighting conditions.
Experimenting with Different Techniques
Experimenting with manual mode techniques enhances your understanding of aperture‚ ISO‚ and shutter speed. Use a cheat sheet to explore creative effects like depth of field‚ motion blur‚ and low-light photography. Practice various compositions and lighting setups to unlock your camera’s full potential and develop a unique photographic style.