LiftMaster offers high-quality garage door openers designed for reliability and ease of use. Proper installation ensures safety, efficiency, and optimal performance of your garage door system.

1.1 Overview of LiftMaster Garage Door Openers
LiftMaster Garage Door Openers are renowned for their reliability and innovative features. They offer a variety of models, including belt drive and chain drive systems, each designed to provide quiet operation and durability. With advanced security features and smart technology integration, such as the myQ app, users can monitor and control their garage doors remotely. These openers are known for their ease of use and compatibility with various garage door types, making them a top choice for both residential and commercial settings. Their commitment to quality ensures smooth operation and long-lasting performance.
1.2 Importance of Following Instructions
Following LiftMaster installation instructions is crucial for safety and functionality. Proper steps ensure your garage door opener operates efficiently and reliably. Misinstallation can lead to safety hazards, such as door malfunctions or injuries. Adhering to guidelines reduces the risk of severe injury or death. Instructions are designed to guide through complex processes, like wiring or component assembly, ensuring everything works seamlessly. Neglecting them may void warranties or cause system failures. Always prioritize accuracy and safety, and refer to the manual for specific details to avoid common pitfalls and ensure a successful installation.


Pre-Installation Steps
Before installing your LiftMaster opener, gather tools, clear the garage, and review safety guidelines. Ensure a smooth process by preparing the space and understanding necessary precautions.
2.1 Gathering Tools and Materials

Before starting, collect all necessary tools and materials to ensure a smooth installation. This includes a ladder, screwdrivers, wrenches, and the components provided with your LiftMaster opener. Organize the parts and hardware to avoid delays. Double-check the manual for specific requirements. Having everything ready saves time and prevents potential issues during the process. Always refer to the product manual for a comprehensive list of needed tools and materials to ensure compatibility and safety.

2.2 Preparing the Garage
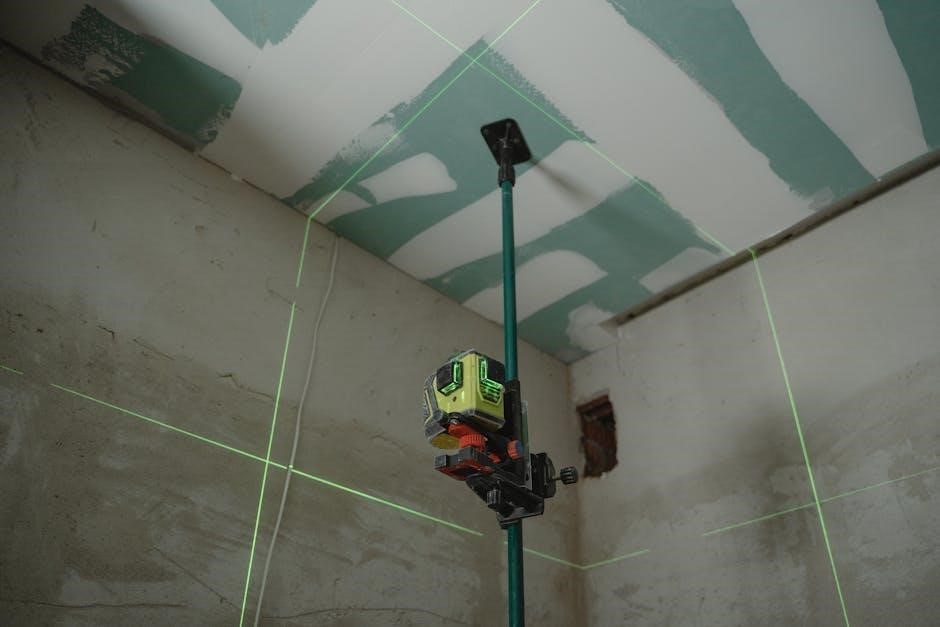
Clear the garage floor and surrounding areas to ensure unobstructed access during installation. Inspect the garage door for proper balance and alignment, as an uneven door can affect opener performance. Verify that a power outlet is available near the installation site. Check the door’s condition, ensuring all panels and hardware are secure. If necessary, make repairs before proceeding. Measure the door’s dimensions to confirm compatibility with the LiftMaster opener. Remove any obstacles that could interfere with the opener’s rail or movement. A well-prepared garage ensures a safer and more efficient installation process.
2.3 Understanding Safety Guidelines
Always prioritize safety during LiftMaster installation. Disconnect the garage door from its current opener and ensure the door is secure. Never attempt to install while the door is operational. Wear protective gear like gloves and safety glasses. Keep children and pets away from the work area. Be cautious of electrical components and avoid DIY repairs without proper knowledge. Follow all manufacturer instructions to prevent injuries or fatalities. Ensure the area is well-lit and clear of obstacles. If unsure, consider professional installation for guaranteed safety and compliance with guidelines.

Installation Process
The LiftMaster installation involves following detailed instructions, carefully assembling components, and securing the opener. Ensure all parts are properly connected before testing and programming begins.
3.1 Mounting the Opener
Mounting the LiftMaster opener securely is crucial for safe and efficient operation. Ensure the opener is centered and properly aligned with the garage door. Attach the mounting hardware firmly to the ceiling, following the manufacturer’s specifications. Double-check the height to avoid interference with the door’s movement. Once mounted, press and hold the Learn button until the LED light turns on, indicating the system is ready for remote control programming. Proper alignment and secure installation are essential to prevent accidents and ensure smooth operation. Always refer to the manual for specific mounting instructions tailored to your model.
3.2 Assembling and Installing Components
Begin by assembling the rail and belt according to the manufacturer’s instructions. Attach the necessary accessories, such as the emergency release handle and safety sensors. Ensure all components are securely fastened and properly aligned with the garage door. Follow the manual for specific assembly steps tailored to your LiftMaster model. Once assembled, install the components in the correct sequence, starting with the rail assembly and moving to the belt or chain. Double-check all connections to ensure they are tight and properly seated. Misalignment or loose connections can lead to poor performance or safety hazards. Always refer to the manual for precise installation guidance.
3.3 Wiring and Connecting Components
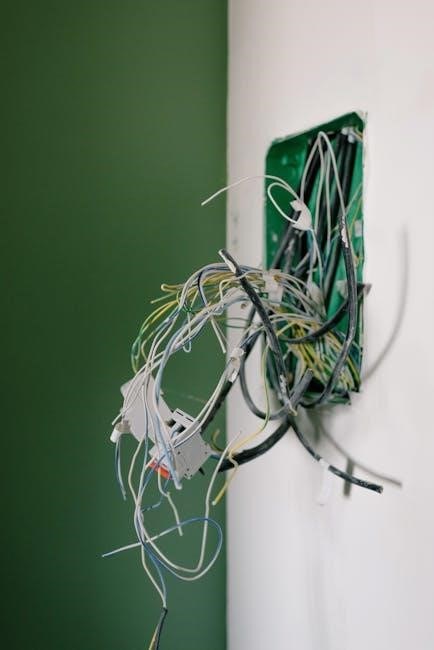
Connect the wiring harness to the motor unit, ensuring all cables are securely attached to the appropriate terminals. Reference the manual for specific wiring diagrams tailored to your LiftMaster model. Carefully route wires to avoid interference with moving parts. Connect the safety sensors to the motor and ensure they are aligned properly. Use the provided wiring connectors to secure all connections. Double-check that all wires are properly insulated and not pinched or damaged. If unsure, consult a licensed electrician or contact LiftMaster support for assistance. Proper wiring is crucial for safe and efficient operation of your garage door opener.
3.4 Securing and Testing the Opener
Once all components are installed, ensure the opener is securely fastened to the ceiling. Tighten all bolts and screws firmly, following the torque specifications in the manual. Conduct a safety test by activating the opener and observing its operation; Check for smooth movement, proper alignment, and sensor functionality. Test the emergency release and ensure it disengages correctly. Verify that the opener stops and reverses when obstructed, as required by safety standards. Perform multiple test cycles to confirm reliability and consistent performance. If any issues arise, refer to the troubleshooting section in your LiftMaster manual or contact customer support for assistance. Proper testing ensures your garage door operates safely and efficiently.


Programming and Setup
After installation, program your remote controls and set up the myQ app for smart home integration. This step ensures seamless operation and advanced functionality.
4.1 Programming Remote Controls
Programming your LiftMaster remote ensures secure and convenient operation. Press and hold the Learn button on the motor unit until the LED lights. Then, press the remote control button to sync. This process pairs the remote with the opener, ensuring only authorized access. Always test the remote after programming to confirm functionality. If issues arise, refer to the user manual or reset the system by holding the Learn button until the LED turns off. Proper programming enhances safety and ease of use for your garage door system.
4.2 Setting Up the myQ App
Setting up the myQ app enhances your garage door opener’s functionality. Begin by downloading the myQ app from the App Store or Google Play. Create an account and follow in-app instructions to connect your LiftMaster opener. Ensure your opener is myQ-enabled and properly installed. Once connected, the app allows remote monitoring, opening, and closing of your garage door. Customize notifications for real-time alerts and integrate with smart home systems for seamless control. The myQ app offers advanced diagnostics and troubleshooting, ensuring your garage door operates efficiently and securely from anywhere.
Troubleshooting and Maintenance
Troubleshoot issues like uneven door movement or unresponsive remotes by checking sensors and wiring. Regular maintenance, such as lubricating parts and inspecting belts, ensures smooth operation.
5.1 Common Issues and Solutions
Common issues with LiftMaster openers include remote malfunction, door misalignment, and sensor obstruction. Resetting the system by holding the Learn button often resolves remote problems. For misalignment, adjust the door tracks and ensure proper balance. Clearing obstructions near sensors can restore safety features. Regularly check and replace worn or damaged parts, such as belts or gears, to prevent breakdowns. Lubricating moving components annually keeps the system running smoothly. Always refer to the user manual for specific troubleshooting steps tailored to your model.
5.2 Routine Maintenance Tips

Regular maintenance ensures your LiftMaster opener operates smoothly and lasts longer. Lubricate moving parts annually to reduce friction and wear. Check and tighten all screws, bolts, and brackets to prevent loose connections. Inspect the door balance and alignment, adjusting as needed to avoid strain on the opener. Clean sensors and tracks regularly to ensure proper function. Replace remote batteries periodically to maintain reliable performance. Finally, schedule an annual inspection by a professional to identify and address potential issues before they escalate.

