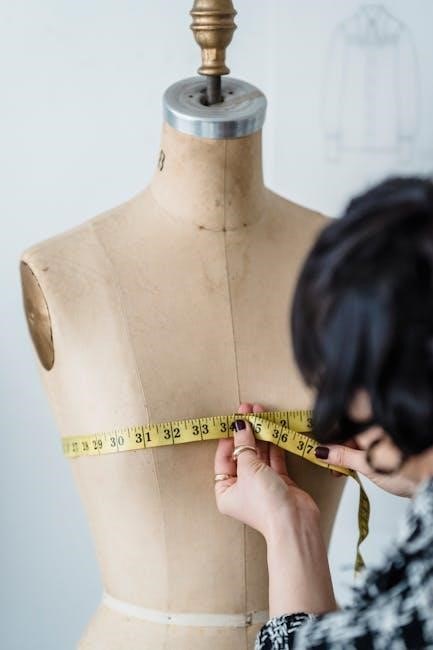
Seam allowance is the distance between the stitching line and fabric edge, typically 1/4″, 1/2″, or 5/8″. It ensures proper fit, strength, and ease of sewing, making it essential for garment construction.
1.1 What is a Seam Allowance?
A seam allowance is the distance between the seam stitching line and the cut edge of the fabric. It is a crucial element in garment construction, ensuring proper fit, strength, and ease of sewing. Typically, seam allowances are standardized at 1/4 inch, 1/2 inch, or 5/8 inch, depending on the project. This extra margin allows for finishing techniques like pressing or serging and prevents fraying from affecting the seam integrity. Understanding seam allowance is fundamental for achieving professional results, as it directly impacts the final size and shape of a garment.
1.2 Importance of Seam Allowance in Sewing
Seam allowance is crucial for achieving proper fit and durability in garments. It ensures that seams are strong and less prone to fraying, while also accommodating finishing techniques like pressing or serging. A consistent seam allowance guarantees that pattern pieces align correctly, maintaining the intended shape and size. Incorrect allowances can lead to garments that are too tight or too loose, emphasizing the need for precision. By providing a margin for stitching, seam allowance simplifies the sewing process and ensures professional-quality results, making it an essential concept for sewists of all skill levels.

Common Seam Allowances
Standard seam allowances are 1/4″, 1/2″, and 5/8″. These measurements ensure proper stitching alignment and fabric stability, with 5/8″ being common in garment construction for durability and ease.
2.1 Standard Seam Allowances: 1/4 Inch, 1/2 Inch, and 5/8 Inch
Standard seam allowances are 1/4 inch, 1/2 inch, and 5/8 inch. These measurements are widely used in sewing patterns to ensure proper stitching alignment and fabric stability. The 1/4 inch allowance is ideal for delicate fabrics or tight curves, while the 1/2 inch is commonly used for general sewing projects. The 5/8 inch allowance is typically reserved for heavier fabrics or industrial sewing. Consistency in seam allowance is crucial for achieving professional results. Always follow the pattern’s specified allowance to ensure the garment’s fit and structural integrity. Reducing the allowance below 1/4 inch is not recommended, as it can lead to fraying and weak seams.
2.2 Factors Influencing Seam Allowance
Seam allowance is influenced by fabric type, pattern design, and garment requirements. Delicate fabrics like silk or chiffon often require smaller allowances to prevent fraying, while heavier fabrics such as denim may need larger ones for stability. Pattern design also plays a role, as curved or angled pieces may require adjustments to maintain shape. Garment size and intended use further impact the allowance, with knit fabrics typically using smaller measurements than woven ones. Additionally, specific sewing techniques or finishes, such as hems or zippers, may necessitate variations in seam allowance to ensure proper construction and functionality.
International Standards and Practices
European patterns often exclude seam allowances, requiring manual addition, while American patterns typically include them. This variation reflects regional design and sewing practices.
3.1 European vs. American Patterns
European patterns, such as Burda Style, often do not include seam allowances, requiring sewists to add them manually. In contrast, American patterns like Simplicity, New Look, and Butterick typically include seam allowances, streamlining the sewing process. This difference reflects regional design approaches, with European patterns emphasizing customization and American patterns prioritizing convenience. Understanding these standards is crucial for achieving accurate results, as failing to add seam allowances to European patterns can lead to ill-fitting garments. Always check pattern instructions to confirm whether seam allowances are included or need to be added.
3.2 Burda Style and Other European Patterns
Burda Style and other European patterns typically do not include seam allowances, requiring sewists to add them manually before cutting fabric. This approach allows for customization but demands precision. Sewists must use tools like rulers or chalk to mark the desired allowance, usually 1/4″ to 1/2″, around pattern edges. Special care is needed for curved or angled pieces to maintain shape and fit. Instructions often specify where to add allowances, ensuring seams align correctly. This method, while flexible, requires careful planning to avoid errors and achieve professional results in garment construction.
3.3 Simplicity, New Look, and Butterick Patterns
Simplicity, New Look, and Butterick patterns generally include pre-added seam allowances, simplifying the sewing process for users. These patterns typically feature standard allowances of 1/4″, 1/2″, or 5/8″, depending on the design. The allowances are incorporated into the pattern pieces, eliminating the need for manual addition. This convenience ensures consistency and saves time, especially for beginners. However, it’s important to verify the specified allowances in the pattern instructions to maintain accuracy. These patterns are designed to streamline construction, offering a hassle-free experience while ensuring professional-quality results. Always follow the guidelines provided to achieve the best fit and finish.

Adding Seam Allowance
Use tailor’s chalk or a removable marker with a ruler to add seam allowance around pattern edges. For curves, make small dashes and connect them smoothly. Avoid adding allowance on folded seams and adjust for hems as specified. Ensure consistency across all pieces for accurate results.
4.1 Tools Needed: Tailor’s Chalk, Ruler, and Removable Markers
Essential tools for adding seam allowance include tailor’s chalk, a ruler, and removable markers. Tailor’s chalk is ideal for marking fabric without leaving residue, while rulers ensure accurate measurements. Removable markers, like water-soluble pens, are great for visibility and easy removal. For curved edges, a French curve or curved ruler can help create smooth lines. A quilting ruler is also useful for drawing longer, straight lines efficiently. To maintain consistency, some sewists use a hack involving two pencils rubber-banded together to mark uniform allowances. These tools ensure precision and ease when adding seam allowances to your patterns.
4.2 Step-by-Step Guide to Adding Seam Allowance
Start by placing your pattern pieces on fabric or paper, ensuring enough space to add the allowance. Measure the desired allowance using a ruler and mark it with tailor’s chalk or a removable marker. For straight edges, draw a continuous line or connect dashes. On curves, create small dashes and smooth them with a French curve. Ensure all joining pieces have equal allowances for consistency. Avoid adding allowance on seams placed on fabric folds. Once marked, cut along the lines to prepare for sewing. This method ensures accurate and professional results for your sewing projects.
4.3 Special Cases: Hems, Angled Pieces, and Curved Edges
For hems, add an extra 1/2 inch (1cm) to allow for turning the hem twice. On angled pieces like sleeves, angle the hem outward to prevent narrowing when folded. For curved edges, mark small dashes and smooth them with a curved ruler or French curve. Avoid adding seam allowance on folds. Use a pencil hack—join two pencils with a rubber band—to maintain consistent marking. Ensure all adjustments align with pattern instructions for a professional finish. These techniques ensure seamless integration of allowances in complex shapes and edges, maintaining garment integrity and aesthetics.

Adjusting Seam Allowance
Adjusting seam allowance involves increasing or decreasing the margin around pattern edges. Ensure consistency across all pieces to maintain fit and proportions. Sew on the specified stitching line for accuracy.
5.1 Increasing or Decreasing Seam Allowance
Adjusting seam allowance is crucial for achieving the perfect fit. To increase, add more fabric by expanding the margin around the pattern. For decreasing, reduce the margin but avoid going below 1/4 inch. Always maintain consistency across all pattern pieces to ensure symmetry. When altering, consider the fabric type and project requirements. Knits may need smaller allowances, while structured garments require larger ones. Use tools like rulers or adjustable guides for precision. Remember, incorrect adjustments can lead to ill-fitting garments or sewing difficulties.
5.2 Sewing on the Correct Stitching Line
Sewing on the correct stitching line is vital for achieving professional results. The stitching line should align with the edge of the seam allowance, ensuring the garment fits as intended. Use seam allowance guides on your sewing machine or markers to maintain accuracy. Incorrect stitching can lead to puckering, misaligned seams, or improper fit. Always backstitch at the beginning and end for durability. For consistent results, test your stitching on scrap fabric first. Remember, precise stitching ensures strength and a polished finish, making it a cornerstone of successful sewing projects.
Tips and Tricks
Use tailor’s chalk or removable markers to mark seam allowances accurately. Maintain consistency across all pattern pieces for a professional finish and avoid common sewing mistakes.
6.1 Using Seam Allowance Guides on Sewing Machines
Utilize the seam allowance guides on your sewing machine’s needle plate to maintain consistent stitching. Place colored tape or markers on the guide to visually align fabric edges. For accuracy, use a ruler or quilting tools to mark allowances before sewing. Some sewists employ two pencils rubber-banded together to draw parallel lines, ensuring even margins. These techniques help prevent uneven seams and enhance precision, especially for beginners. Always test on scrap fabric to confirm settings before starting your project.
6.2 Maintaining Consistency Across Pattern Pieces
Maintaining consistent seam allowances across all pattern pieces is crucial for a professional finish. Always use the same measurement for each piece to ensure proper fit and alignment. When adding seam allowances, mark them evenly on each edge using a ruler or removable marker. For curved edges, create small dashes and connect them smoothly. Ensure that all joining pieces have matching allowances to avoid mismatched seams. Double-check your work to prevent errors, and use tools like tailor’s chalk or a quilting ruler for precision. Consistency guarantees a polished result and prevents fit issues in the final garment.
6.3 Avoiding Common Mistakes
Avoiding common mistakes when working with seam allowances ensures professional results. One frequent error is adding inconsistent allowances across pattern pieces, leading to misaligned seams. Always double-check measurements and use a ruler or guide for accuracy. Forgetting to add allowances on curved edges or angled pieces is another pitfall; use a curved ruler or French curve to maintain smooth lines. Additionally, neglecting to adjust allowances for hems or folds can cause fit issues. To prevent mistakes, follow pattern instructions carefully and test your technique on scrap fabric before cutting your final material.

Troubleshooting
Troubleshooting common seam allowance issues ensures project success. Address frayed edges by using zigzag stitches or serging. Fix uneven seams by re-sewing or adjusting allowances for a polished finish.
7.1 Dealing with Frayed Edges
Frayed edges can compromise the integrity of your seams. To prevent this, use zigzag stitches or a serger on raw edges before sewing. For delicate fabrics, apply seam binding or staystitching. Pinking shears can also help reduce fraying by creating a zigzag cut. When adding seam allowances, ensure hems are adequately sized to allow for turning under without weakening the fabric. Properly securing seams during construction and using interfacing where needed can further prevent fraying. Always test fabric behavior before cutting to anticipate potential issues and adjust your techniques accordingly for a professional finish.
7.2 Fixing Uneven Seams
Uneven seams can detract from the professionalism of your project. To fix them, carefully remove the uneven stitching using a seam ripper. Re-sew the seam, ensuring consistent seam allowance throughout. Use a sewing machine guide or marked throat plate to maintain accuracy. For hand-sewn seams, employ a ruler or seam gauge to align stitches evenly. Press the seam flat before re-sewing to ensure fabric lies smoothly. To prevent unevenness, always sew in the same direction and use a walking foot or Teflon foot for slippery fabrics. Regularly checking your work as you sew can help catch and correct issues early.

Expert Techniques
Expert techniques involve precision cutting, advanced seam adjustments, and professional finishing methods to achieve flawless results, ensuring optimal fit and durability in every sewing project.
8.1 Professional Finishing Methods
Professional finishing methods ensure seams are strong, neat, and durable. Techniques include precise pressing, using tailor’s chalk for accurate markings, and employing French curves for smooth curves. For angled pieces, hems are angled outward to prevent narrowing. Consistency in seam allowance is crucial, especially for matching pieces. Using removable markers and rulers ensures precision. Special cases like hems require extra allowance for proper folding. These methods guarantee high-quality results, making garments both functional and visually appealing. Proper finishing enhances the overall professionalism of sewing projects, ensuring longevity and a polished look.
8.2 Advanced Seam Allowance Adjustments
Advanced seam allowance adjustments involve precise techniques to customize fit and durability. For angled pieces, increase the allowance outward to prevent narrowing during folding. Use tailor’s chalk to mark adjustments clearly. When altering patterns, ensure consistency across all pieces. For hems, add extra allowance for double folding. Adjusting seam allowances requires careful planning to maintain garment integrity. Using removable markers and rulers ensures accuracy. These advanced methods allow for tailored fits and professional finishes, enhancing both functionality and aesthetics in sewing projects.
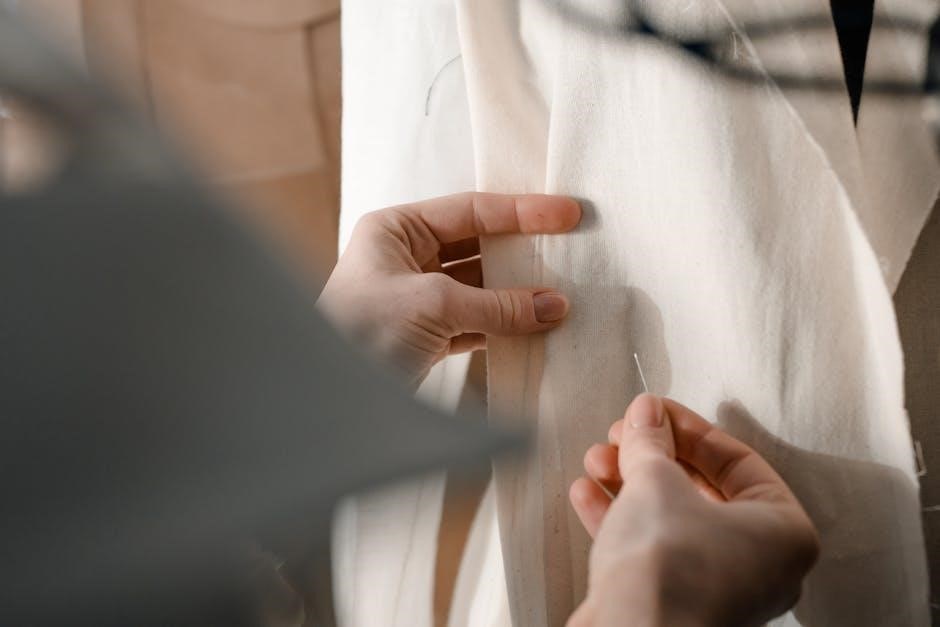
Mastering seam allowance is key to successful sewing, ensuring proper fit and durability. Always add allowances accurately and maintain consistency for professional results in every project.
9.1 Summary of Key Points
Seam allowance is the margin between the stitching line and fabric edge, typically 1/4″, 1/2″, or 5/8″. It ensures proper fit, durability, and ease of sewing. Adding allowances requires tools like chalk, rulers, or markers, and consistency is crucial for professional results. Factors like fabric type, pattern design, and garment purpose influence allowance size. Special cases, such as hems or angled pieces, may need adjustments. European patterns often exclude allowances, while American ones usually include them. Always follow pattern instructions and adjust as needed for optimal outcomes. Proper seam allowance management is essential for achieving flawless, long-lasting garments.
9.2 Final Tips for Perfect Seams
Seam allowance is crucial for perfect seams. Always use the correct allowance specified in your pattern, typically 1/4″, 1/2″, or 5/8″. Use tools like tailor’s chalk or removable markers to mark accurately. Press seams open or to one side for a professional finish. Backstitch at the beginning and end of each seam for durability. Utilize seam guides on your sewing machine to maintain straight lines. Ensure consistency across all pattern pieces for a polished result. By following these tips, you’ll achieve flawless, long-lasting seams every time.

Additional Resources
Explore recommended reading, useful tools, and tutorials for mastering seam allowances. Check out guides from Treasurie, Burda Style, and Simplicity for expert tips and techniques.
10.1 Recommended Reading
For in-depth understanding, explore guides like Treasurie’s “How to Add Seam Allowance” and Burda Style’s pattern tutorials. Simplicity and Butterick also offer excellent resources. Books like The Complete Book of Sewing and Sewing for Dummies provide comprehensive insights. Online tutorials from sewing blogs and YouTube channels, such as those by Craftsy and Sew Over It, are invaluable. These resources cover basics, troubleshooting, and advanced techniques, ensuring you master seam allowances for professional results. Reading these will enhance your sewing skills and confidence in handling various fabrics and patterns effectively.
10.2 Useful Tools and Tutorials
Essential tools for managing seam allowances include tailor’s chalk, rulers, and removable markers. Sewing machine guides, like the needle plate markings, help maintain consistent stitching. Tutorials such as Treasurie’s step-by-step guides offer practical advice for adding allowances, especially for curved edges and hems. Online resources like Craftsy and YouTube channels provide video demonstrations. Additionally, clever hacks, such as using two pencils tied with a rubber band, can simplify marking. These tools and tutorials empower sewists to achieve precise, professional results, ensuring garments fit well and seams are strong and even.
